


nitin
Grand Guru
- Joined
- Nov 30, 2018
- Messages
- 629
Most people when just getting started in affiliate marketing are overwhelmed with the amount of work they need to do/learn. And it definitely looks a little hard when just getting started.
So I thought to create a guide on how to set up your first campaign. You will find it useful only if you are entirely new to affiliate marketing.
So lets dig into the journey.
We will be using propellerads as our tracking source, bemob as our tracker (because it is free) and advidi as our affiliate network (because I use it..though most are same).
But first.
Why do you even need to track a campaign? Can I not link directly to offer without a tracker?
Yes you can but that would be like trying to hit bull's eye with your eyes closed. You might hit the target but you would never know what was the reason behind it. And if you miss the target by a little margin, you would never know what to do. In short, we use a tracker to have all our data at one place and also to better control our funnel. (Remember: This is performance marketing and you make only data-based decisions).
So yes a tracker is absolutely necessary.
Now lets get to the next part. How don we transfer information from traffic source to tracker to affiliate network and vice versa?
We use a unique key called clickid. Every click is given a unique id and it is used to transfer information. The traffic source passes the unique id to tracker and tracker to the affiliate network. If a conversion occurs, the affiliate network informs the tracker that this particular click id has converted with this payout and that is how we get that value in our tracker.
If you fail to pass clickid, there would be no-way for affiliate network to tell you which clickid converted.
The information is transferred through postbacks. We will get into how to set up postbacks but first let us see our tracker.
These are the main sections of bemob.

This is another tracker @Landingtrack (which I personally use)

What you will observe is all trackers have similar major functions (like adding offer, adding network, adding traffic source etc), just different User Interface (and yes a few functions too but we can ignore those for now).
So to create your first campaign, first of all you will have to set up your traffic source in your tracker. (This is one-time thing).
So got to traffic sources section (in bemob) and click "New from template" and search and select "Propellerads".
You will get a screen like this:

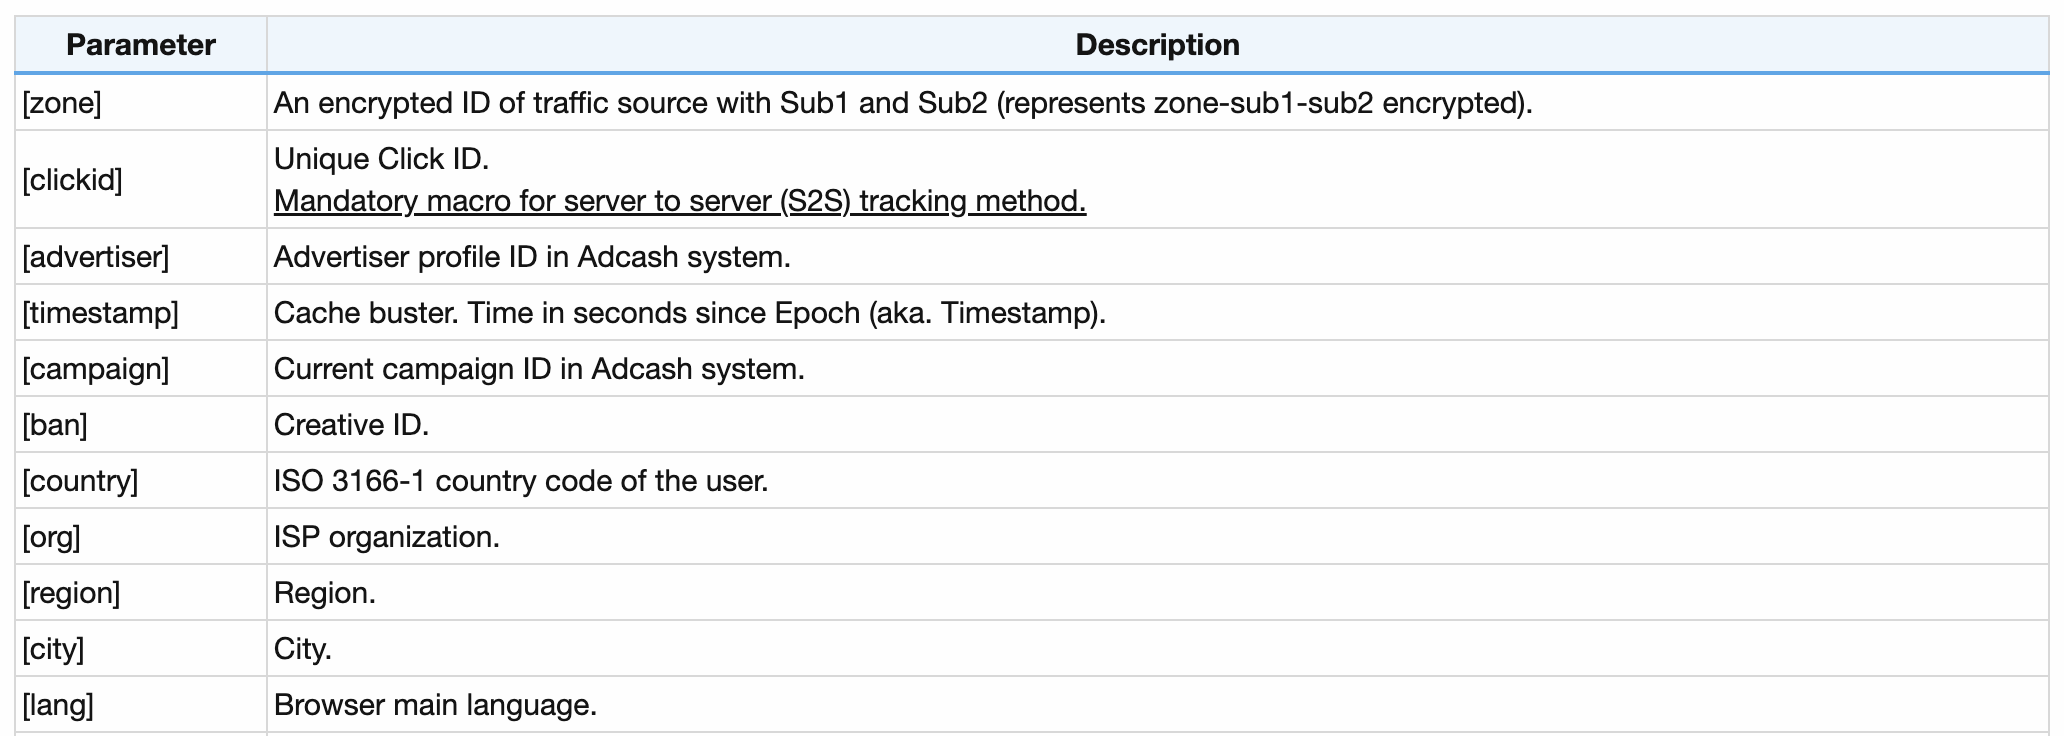
So the good part is most tracker have almost all the fields prefilled to make it very easy for us. Here in the postback url, you need to add your aid, pid and tid. The tokens are prefilled but you can add more of them.
Follow this guide by @servandosilva to get to know more tokens for each traffic source:
 afflift.com
Now where do you find aid, pid, tid?
Go to propellerads>tracking and you will see a link like this:
http://ad.propellerads.com/conversion.php?aid=123456&pid=&tid=11111&visitor_id=${SUBID}&payout=${PAYOUT}
So here 123456 is your aid, 11111 is your tid that you need to add in your tracker above (in place of replace). You can let pid be blank.
Once added, click on save and you will see a new traffic source called propellerads added in your tracker.
Next we need to add your affiliate network. (This too is one-time).
This is extremely easy. All you need to do is go to "Affiliate networks" section in your tracker bemob, click on new from template, and search for your affiliate network name. You will see something like this:

Copy your postback url and give it to your affiliate manager. Ask him to add this postback in your network. He will add this. This will make it easier for you.
Then click "Save" and we have added our affiliate network.
Now to create a campaign, we will need 2 more things: An offer and a lander.
How to decide which offer to run?
Ask your affiliate manager which is the top performing offer in the network for pop/push traffic (whichever traffic type you are running) and he will come up with a list of few offers. Select the best one and we have our offer ready.
Read this amazing guide by @akahma for a detailed explanation on how to choose an offer:
https://afflift.com/f/threads/how-t...o-start-with-newbie-friendly.2806/#post-28348
Now we will need a lander. The fastest and easiest way is to spy the lander using a spy tool, rip it and clean it (Or hire landing page rip clean service - thelanders.club )
You can read this amazing thread by @Nick on how to clean a lander:
 afflift.com
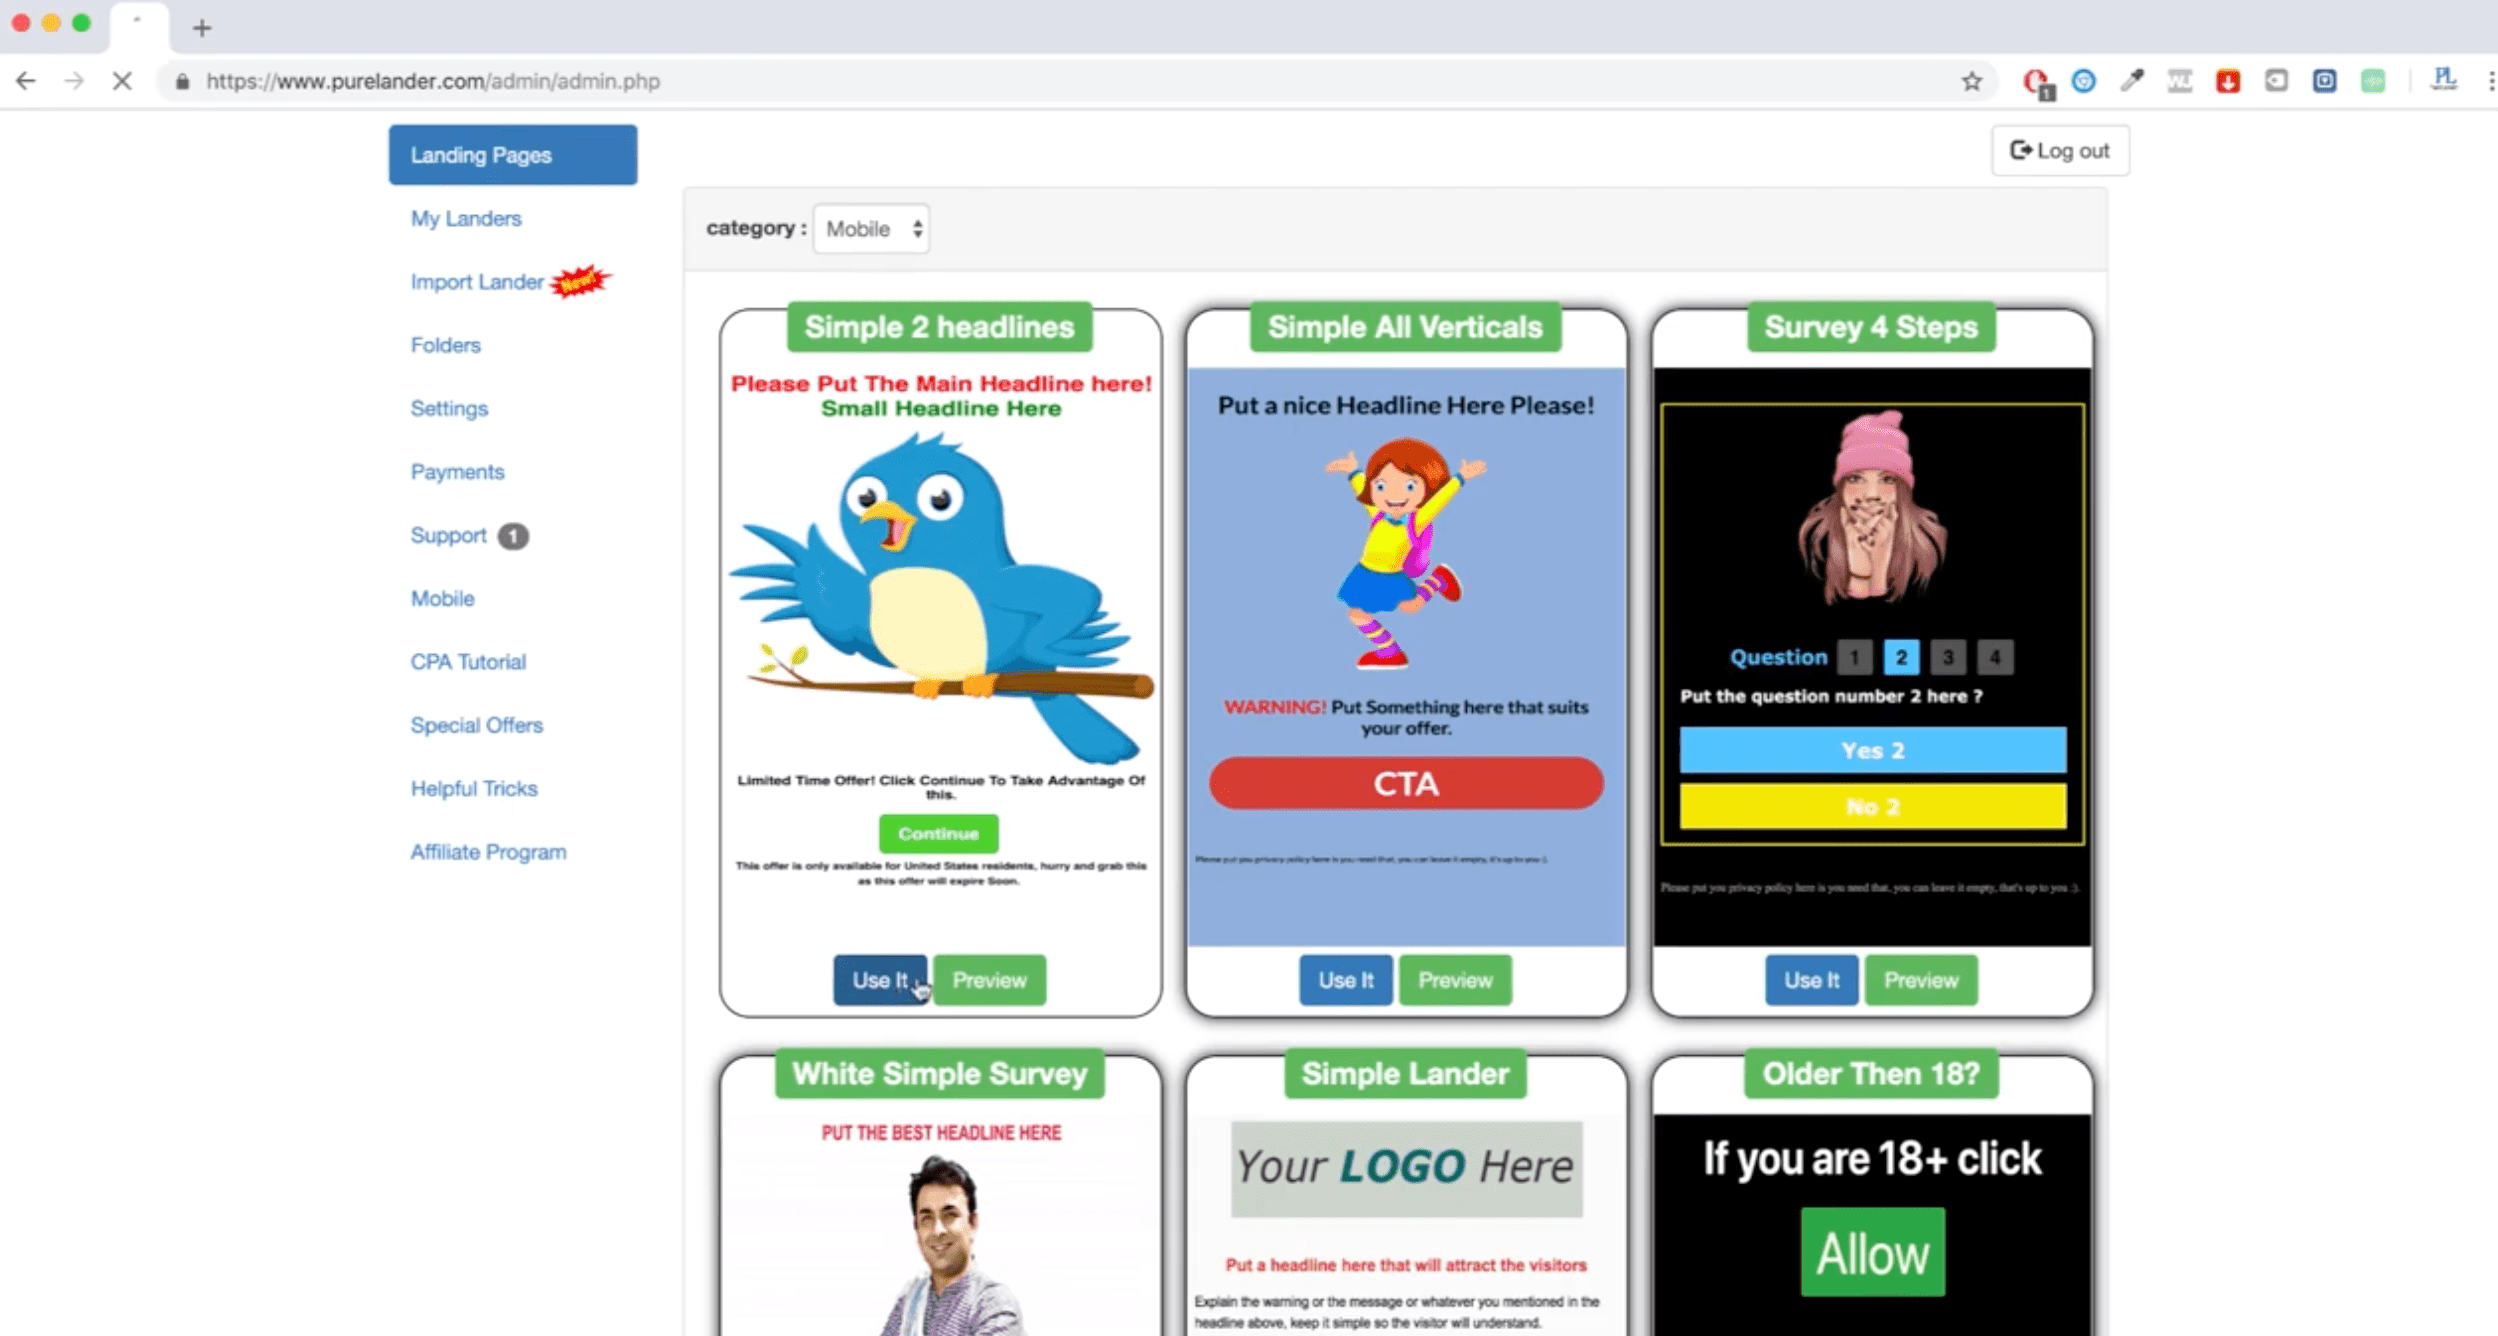
Once you have your html-css-js lander ready either by cleaning it manually or by creating it using purelander, you need to host it somewhere.
Follow this thread/tutorials by @Tyoussef. These are the best.
 afflift.com
Btw..remember: In your landing page call to action button (in short cta) you do not enter your offer url. Instead you enter a url called click url.
You will get your click url from your tracker bemob. Go to settings>Tracking Url and you will see your click url something like
https://www.click url.club/click
I hope you managed to follow everything. Now you have your lander hosted (and you will have a link of your lander, let's say https://www.lander.com for this tutorial). The affiliate manager has already implemented your postback for you. And you also have a link of the offer.
Next part in comment below to keep it easier for me.
So I thought to create a guide on how to set up your first campaign. You will find it useful only if you are entirely new to affiliate marketing.
So lets dig into the journey.
We will be using propellerads as our tracking source, bemob as our tracker (because it is free) and advidi as our affiliate network (because I use it..though most are same).
But first.
Why do you even need to track a campaign? Can I not link directly to offer without a tracker?
Yes you can but that would be like trying to hit bull's eye with your eyes closed. You might hit the target but you would never know what was the reason behind it. And if you miss the target by a little margin, you would never know what to do. In short, we use a tracker to have all our data at one place and also to better control our funnel. (Remember: This is performance marketing and you make only data-based decisions).
So yes a tracker is absolutely necessary.
Now lets get to the next part. How don we transfer information from traffic source to tracker to affiliate network and vice versa?
We use a unique key called clickid. Every click is given a unique id and it is used to transfer information. The traffic source passes the unique id to tracker and tracker to the affiliate network. If a conversion occurs, the affiliate network informs the tracker that this particular click id has converted with this payout and that is how we get that value in our tracker.
If you fail to pass clickid, there would be no-way for affiliate network to tell you which clickid converted.
The information is transferred through postbacks. We will get into how to set up postbacks but first let us see our tracker.
These are the main sections of bemob.
This is another tracker @Landingtrack (which I personally use)
What you will observe is all trackers have similar major functions (like adding offer, adding network, adding traffic source etc), just different User Interface (and yes a few functions too but we can ignore those for now).
So to create your first campaign, first of all you will have to set up your traffic source in your tracker. (This is one-time thing).
So got to traffic sources section (in bemob) and click "New from template" and search and select "Propellerads".
You will get a screen like this:
So the good part is most tracker have almost all the fields prefilled to make it very easy for us. Here in the postback url, you need to add your aid, pid and tid. The tokens are prefilled but you can add more of them.
Follow this guide by @servandosilva to get to know more tokens for each traffic source:
The Token Bible - PPV Edition
The Token Bible - PPV Edition provides a comprehensive list of all the tracking tokens available in PPV sources. This is an invaluable resource for new affiliates trying to understand tracking, and for experienced affiliates who want to stay up-to-date on the latest tokens.
afflift.com
Now where do you find aid, pid, tid?
Go to propellerads>tracking and you will see a link like this:
http://ad.propellerads.com/conversion.php?aid=123456&pid=&tid=11111&visitor_id=${SUBID}&payout=${PAYOUT}
So here 123456 is your aid, 11111 is your tid that you need to add in your tracker above (in place of replace). You can let pid be blank.
Once added, click on save and you will see a new traffic source called propellerads added in your tracker.
Next we need to add your affiliate network. (This too is one-time).
This is extremely easy. All you need to do is go to "Affiliate networks" section in your tracker bemob, click on new from template, and search for your affiliate network name. You will see something like this:
Copy your postback url and give it to your affiliate manager. Ask him to add this postback in your network. He will add this. This will make it easier for you.
Then click "Save" and we have added our affiliate network.
Now to create a campaign, we will need 2 more things: An offer and a lander.
How to decide which offer to run?
Ask your affiliate manager which is the top performing offer in the network for pop/push traffic (whichever traffic type you are running) and he will come up with a list of few offers. Select the best one and we have our offer ready.
Read this amazing guide by @akahma for a detailed explanation on how to choose an offer:
https://afflift.com/f/threads/how-t...o-start-with-newbie-friendly.2806/#post-28348
Now we will need a lander. The fastest and easiest way is to spy the lander using a spy tool, rip it and clean it (Or hire landing page rip clean service - thelanders.club )
You can read this amazing thread by @Nick on how to clean a lander:
How to Clean Ripped Landing Pages
afflift.com
Once you have your html-css-js lander ready either by cleaning it manually or by creating it using purelander, you need to host it somewhere.
Follow this thread/tutorials by @Tyoussef. These are the best.
Tutorial Step-By-Step: how to create and host your landing page, the right way on amazon AWS.
Learn how to build and host your own landing pages with PureLander, the best landing page builder for affiliate marketers!
afflift.com
Btw..remember: In your landing page call to action button (in short cta) you do not enter your offer url. Instead you enter a url called click url.
You will get your click url from your tracker bemob. Go to settings>Tracking Url and you will see your click url something like
https://www.click url.club/click
I hope you managed to follow everything. Now you have your lander hosted (and you will have a link of your lander, let's say https://www.lander.com for this tutorial). The affiliate manager has already implemented your postback for you. And you also have a link of the offer.
Next part in comment below to keep it easier for me.
Last edited:


")
